Beranda
/ Diy Wedding Veil With Blusher : The Blushing Bride Blusher Veils 101 Topweddingsites Com - Match up all sides and use binder clips to secure in place.
Diy Wedding Veil With Blusher : The Blushing Bride Blusher Veils 101 Topweddingsites Com - Match up all sides and use binder clips to secure in place.
Insurance Gas/Electricity Loans Mortgage Attorney Lawyer Donate Conference Call Degree Credit Treatment Software Classes Recovery Trading Rehab Hosting Transfer Cord Blood Claim compensation mesothelioma mesothelioma attorney Houston car accident lawyer moreno valley can you sue a doctor for wrong diagnosis doctorate in security top online doctoral programs in business educational leadership doctoral programs online car accident doctor atlanta car accident doctor atlanta accident attorney rancho Cucamonga truck accident attorney san Antonio ONLINE BUSINESS DEGREE PROGRAMS ACCREDITED online accredited psychology degree masters degree in human resources online public administration masters degree online bitcoin merchant account bitcoin merchant services compare car insurance auto insurance troy mi seo explanation digital marketing degree floridaseo company fitness showrooms stamfordct how to work more efficiently seowordpress tips meaning of seo what is an seo what does an seo do what seo stands for best seotips google seo advice seo steps, The secure cloud-based platform for smart service delivery. Safelink is used by legal, professional and financial services to protect sensitive information, accelerate business processes and increase productivity. Use Safelink to collaborate securely with clients, colleagues and external parties. Safelink has a menu of workspace types with advanced features for dispute resolution, running deals and customised client portal creation. All data is encrypted (at rest and in transit and you retain your own encryption keys. Our titan security framework ensures your data is secure and you even have the option to choose your own data location from Channel Islands, London (UK), Dublin (EU), Australia.
Diy Wedding Veil With Blusher : The Blushing Bride Blusher Veils 101 Topweddingsites Com - Match up all sides and use binder clips to secure in place.. We had a great wedding. You'll need a measuring tape, tulle, comb, scissors, thread, and needles to make the diy wedding veil: Move fabric into guest room to hide it from said fiancé until wedding day. Russian blusher bridal bird cage veils. Fine single tier bridal wedding birdcage face veil blusher 500.
Diy fingertip veil with blusher with step by step info! Making your blusher or face veil. Make a straight stitch along the edge you'll attach to the comb; Trim any uneven portions at the top and bottom of the fabric. Pull the thread until the fabric gathers to fit the comb's width.
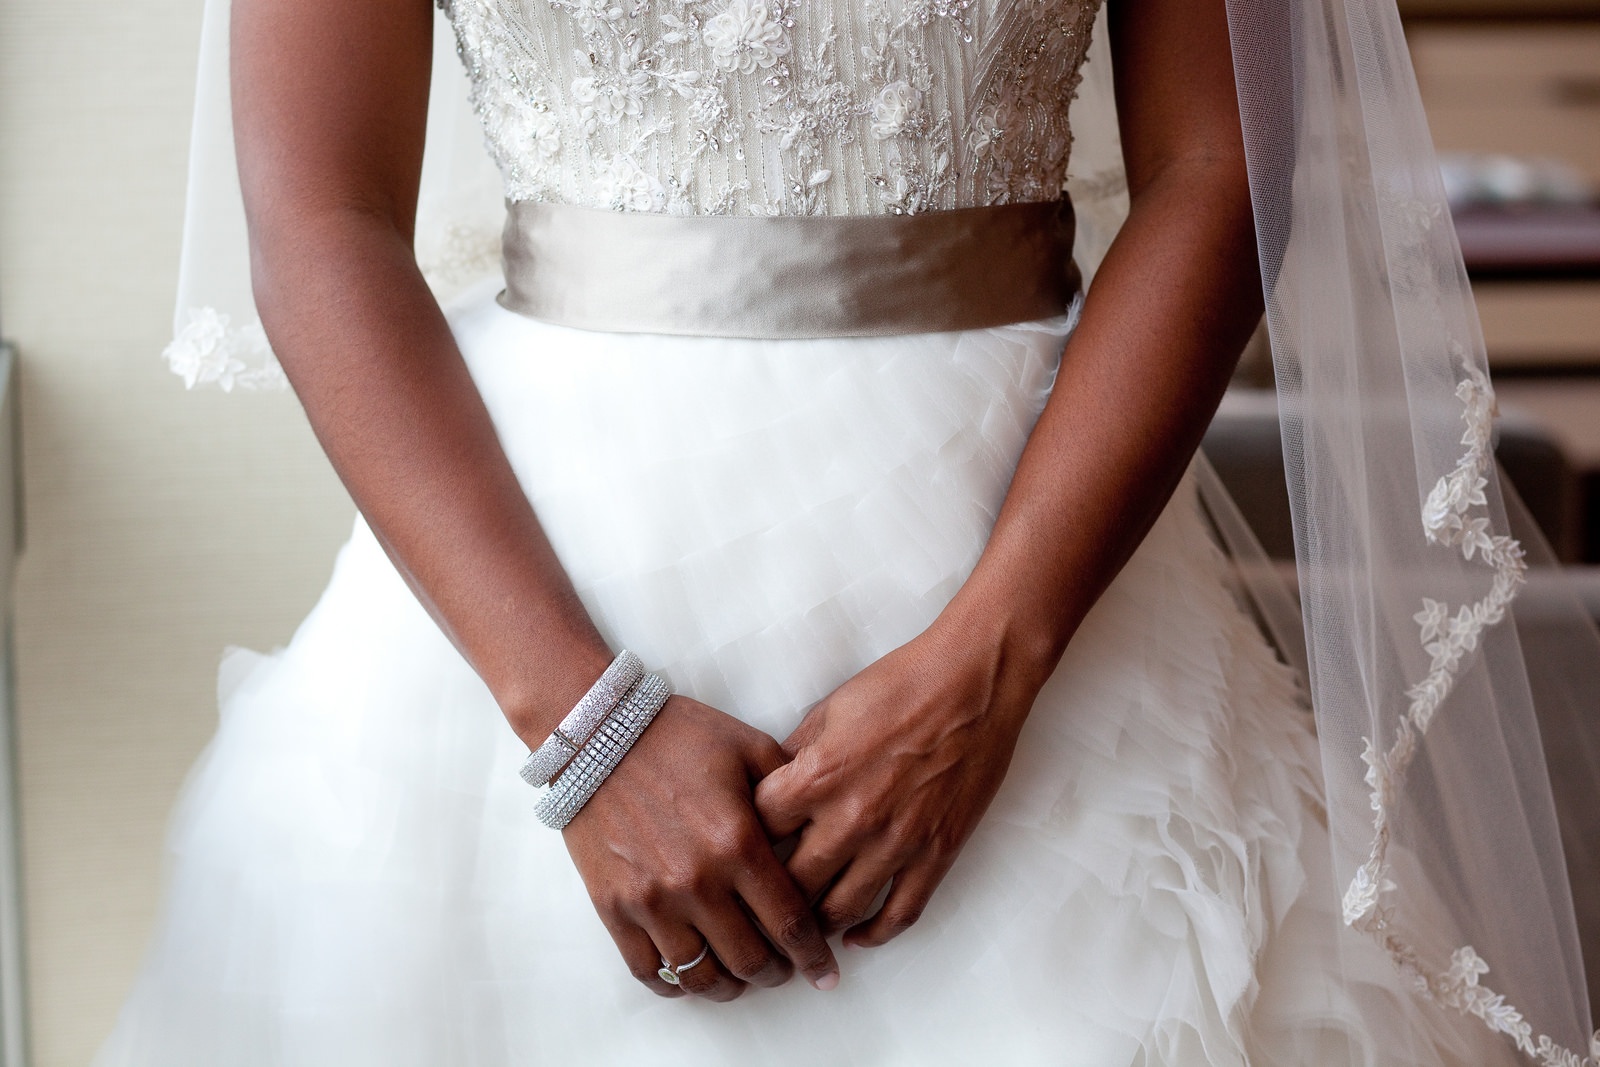
Choosing A Wedding Veil Marti Co from martiandcompany.com You'll need a measuring tape, tulle, comb, scissors, thread, and needles to make the diy wedding veil: Making your blusher or face veil. The materials come in a luxurious gift box and include a french comb because we know which combs really stay in your hair. A few things simply make a bride feel like a bride: You can either use fray check on the ends of the ribbon when finished, or fold the ribbon under 1/4 when sewing. The blusher veil usually covers the entire face of a bride and falls around the shoulders. It is where your tapers, if any, will start. At the beginning of the ceremony, the person walking the bride down the aisle (often the father of the bride) lifts the blusher veil to reveal.
You don't need to be an expert sewer to make your own wedding veil.
The blusher veil usually covers the entire face of a bride and falls around the shoulders. The line in the tulle where your blusher ends and veil begins is where much of the making a bridal veil happens. Pull the thread until the fabric gathers to fit the comb's width. Snap some shots with the blusher on. Cut into a rounded shape. 5 out of 5 stars. Russian blusher bridal bird cage veils. To make a wedding veil, start by having a helper measure down from the top of your head to where you want the veil to end. You'll need a measuring tape, tulle, comb, scissors, thread, and needles to make the diy wedding veil: To remove wrinkles, hang the veil from a hanger — in a steamy bathroom if necessary. Gather the veil and sew it to the veil comb with a running stitch, using heavy thread. Gather the veil and sew on the comb. 5 out of 5 stars.
You will learn the following:veil styles: While some don't think diy weddings are the way to go, i think in many ways, they are! And in step five, it is where you sew on the comb. As with my short wedding veil with comb tutorial, this diy also has five steps.written instructions for each step are below. As much as i love weddings, i feel that a lot of thing related to weddings are too expensive.
Diy Wedding Veil The Love Notes Blog from thelovenotesblog.com Gently iron out any kinks or folds in your fabric. Add a nice silk ribbon to the bottom of the veil. To make a wedding veil, start by having a helper measure down from the top of your head to where you want the veil to end. I made my own veil for my wedding, and it was perfect! Making your blusher or face veil. A few things simply make a bride feel like a bride: We did so much of forrest and mine's wedding on our own, and it turned out great. This post shares all about how to make a bridal veil with a comb.
You'll need a measuring tape, tulle, comb, scissors, thread, and needles to make the diy wedding veil:
Make a straight stitch along the edge you'll attach to the comb; You'll need a measuring tape, tulle, comb, scissors, thread, and needles to make the diy wedding veil: Gather the veil and sew on the comb. The line in the tulle where your blusher ends and veil begins is where much of the making a bridal veil happens. If you're going to roll try to figure out how to make a diy wedding veil, start early. For more wedding tips and guides, check out our blog! As with my short wedding veil with comb tutorial, this diy also has five steps.written instructions for each step are below. Russian blusher bridal bird cage veils. Trim any uneven portions at the top and bottom of the fabric. A few things simply make a bride feel like a bride: Simply sew the ribbon right side up, directly onto the right side of the veil's hem. Why make your own wedding veil? Match up all sides and use binder clips to secure in place.
5 out of 5 stars. Simply sew the ribbon right side up, directly onto the right side of the veil's hem. Gently iron out any kinks or folds in your fabric. Add a nice silk ribbon to the bottom of the veil. Practice a smooth unveiling and have your maid of honor on alert to tame any unruly tulle.
How To Make A Diy Wedding Veil A Practical Wedding from apracticalwedding.com Making your blusher or face veil. How to make a diy veil: Snap some shots with the blusher on. You don't need to be an expert sewer to make your own wedding veil. How to make a bridal veil with a comb. Diy fingertip veil with blusher with step by step info! At the beginning of the ceremony, the person walking the bride down the aisle (often the father of the bride) lifts the blusher veil to reveal. Slide the teeth in just above your bun.
Gather the veil and sew it to the veil comb with a running stitch, using heavy thread.
To remove wrinkles, hang the veil from a hanger — in a steamy bathroom if necessary. Wedding gown waiting patiently in the closetgarter belt with a cute little blue ribbonbridal veil to complete her look of course, i can't forget a fabulous wedding morning (together with your bridesmaids) full of manicures and pedicures, drinking champagne and oj, along with a glamorous hair and makeup session. Trim any uneven portions at the top and bottom of the fabric. This is available in any fabric store and can be found in 72 and 108 widths. How to make a bridal veil with a comb. And in step five, it is where you sew on the comb. Diy fingertip veil with blusher with step by step info! If you're going to roll try to figure out how to make a diy wedding veil, start early. The line in the tulle where your blusher ends and veil begins is where much of the making a bridal veil happens. Here are the steps for a diy wedding veil. Practice a smooth unveiling and have your maid of honor on alert to tame any unruly tulle. Place the fabric shape underneath, sandwiching the headband in between. 5 out of 5 stars.